free pattern: matilda scrunchie

Some people might think scrunchies belong firmly in the 90’s, but I absolutely love them, and use them every. single. day. I rotate between three or four different (identical) scrunchies in my day-to-day life, depending on where I did my hair the day before. I have one on my makeup table, on my coffee table, and in the backpack I take to work. There’s also usually one around my wrist if it isn’t in my hair. After years of use, they show no signs of stretching too much or breaking like normal hair ties do. I have thick curly hair, so you can imagine how many regular hair ties I’ve gone through.
Scrunchies were invented by Rommy Revson, and inspired by elastic waistbands in pajama pants! So it makes sense that scrunchies are more comfortable than typical hair ties. They’re pretty much pajamas. I love them because they don’t leave a weird dent—I can have my hair up for hours and when I take it down, it looks just like it did when I put it up!
I named my scrunchie pattern Matilda after the book by Roald Dahl, though I have to admit that my tie to the character is more because of the 1996 film. Matilda is a girl who gets stuff done. She stands up for herself and for her friends, and isn’t afraid to take risks! Every single time my sisters and I would visit our grandparents, they would watch Matilda with us. Every time we saw them we would reference the film somehow. The song “Send Me on My Way” by Rusted Root instantly brings me back to their living room, and reminds me of my Grandma Kathy, who was also a Woman Who Got Stuff Done. So it seemed only right to name my scrunchie pattern after Matilda, because when I’m ready to buckle down and get to work, I always tie my hair back. So get ready to Get Stuff Done, and enjoy the pattern!

Here’s what you’ll need to make your own Matilda scrunchie:
About 50 yards of DK weight yarn. I used Lion Brand Jeans yarn in the colorway Stovepipe
Size US 4 (3.5 mm) needles
1 hair tie. I used Scunci No-Slip Grip Strong Hold Elastics
Tapestry needle for seaming
Let’s get started!
Cast on 100 stitches using the long-tail method
Work 16 rows in stockinette stitch (knit one row, purl one row, repeat)
Cast off, leaving a substantial tail for seaming
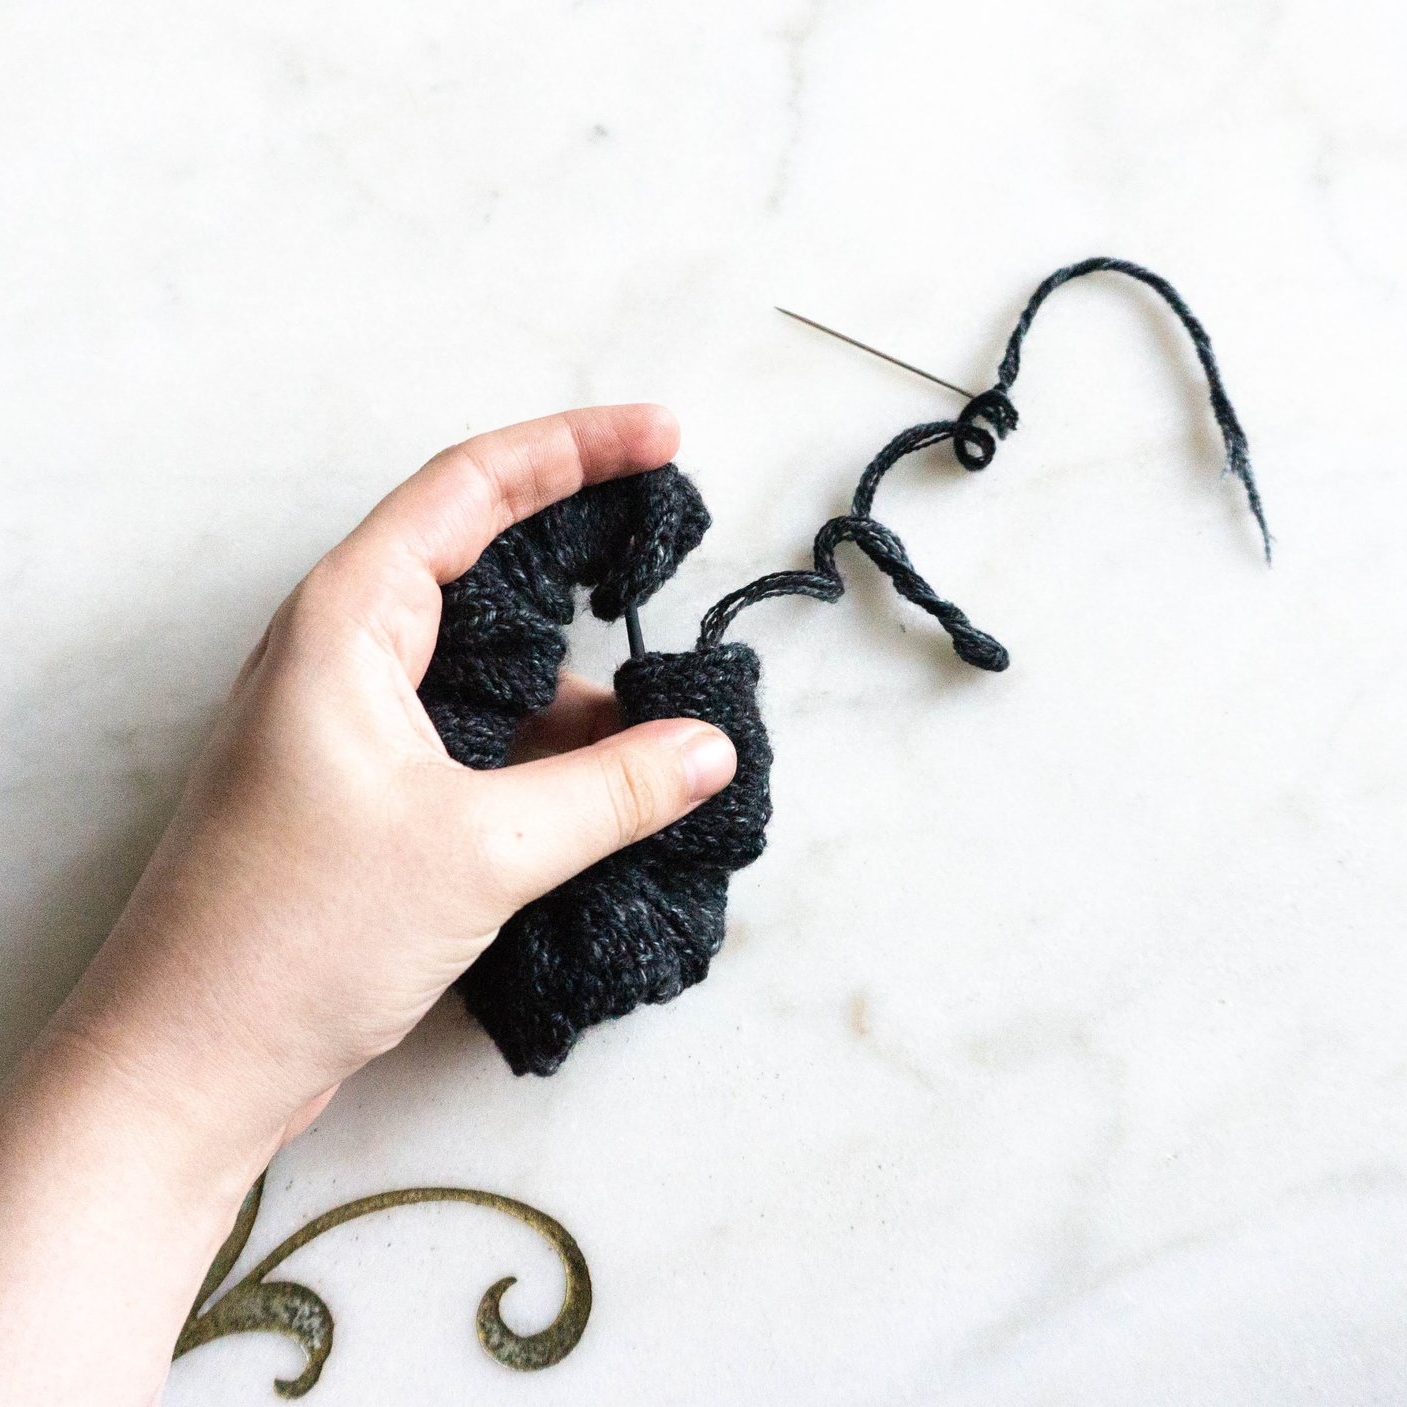
Place your work around the hair tie, wrong sides facing
Seam the cast on and off edges together using the whip stitch, making sure to catch every stitch and moving more of your work onto the hair tie as you go
Seam the edges of your work using the mattress stitch
Weave in your ends, and tie your hair back!